How to Install a Timber Gate
Installing a timber gate can seem daunting, and while it's always a good idea to seek professional assistance, we understand that some prefer to take on the task themselves.
At Strukta, we manufacture timber gates and can recommend trusted installers nationwide. However, if you're up for the challenge of installing it yourself, this step-by-step guide will walk you through the process.
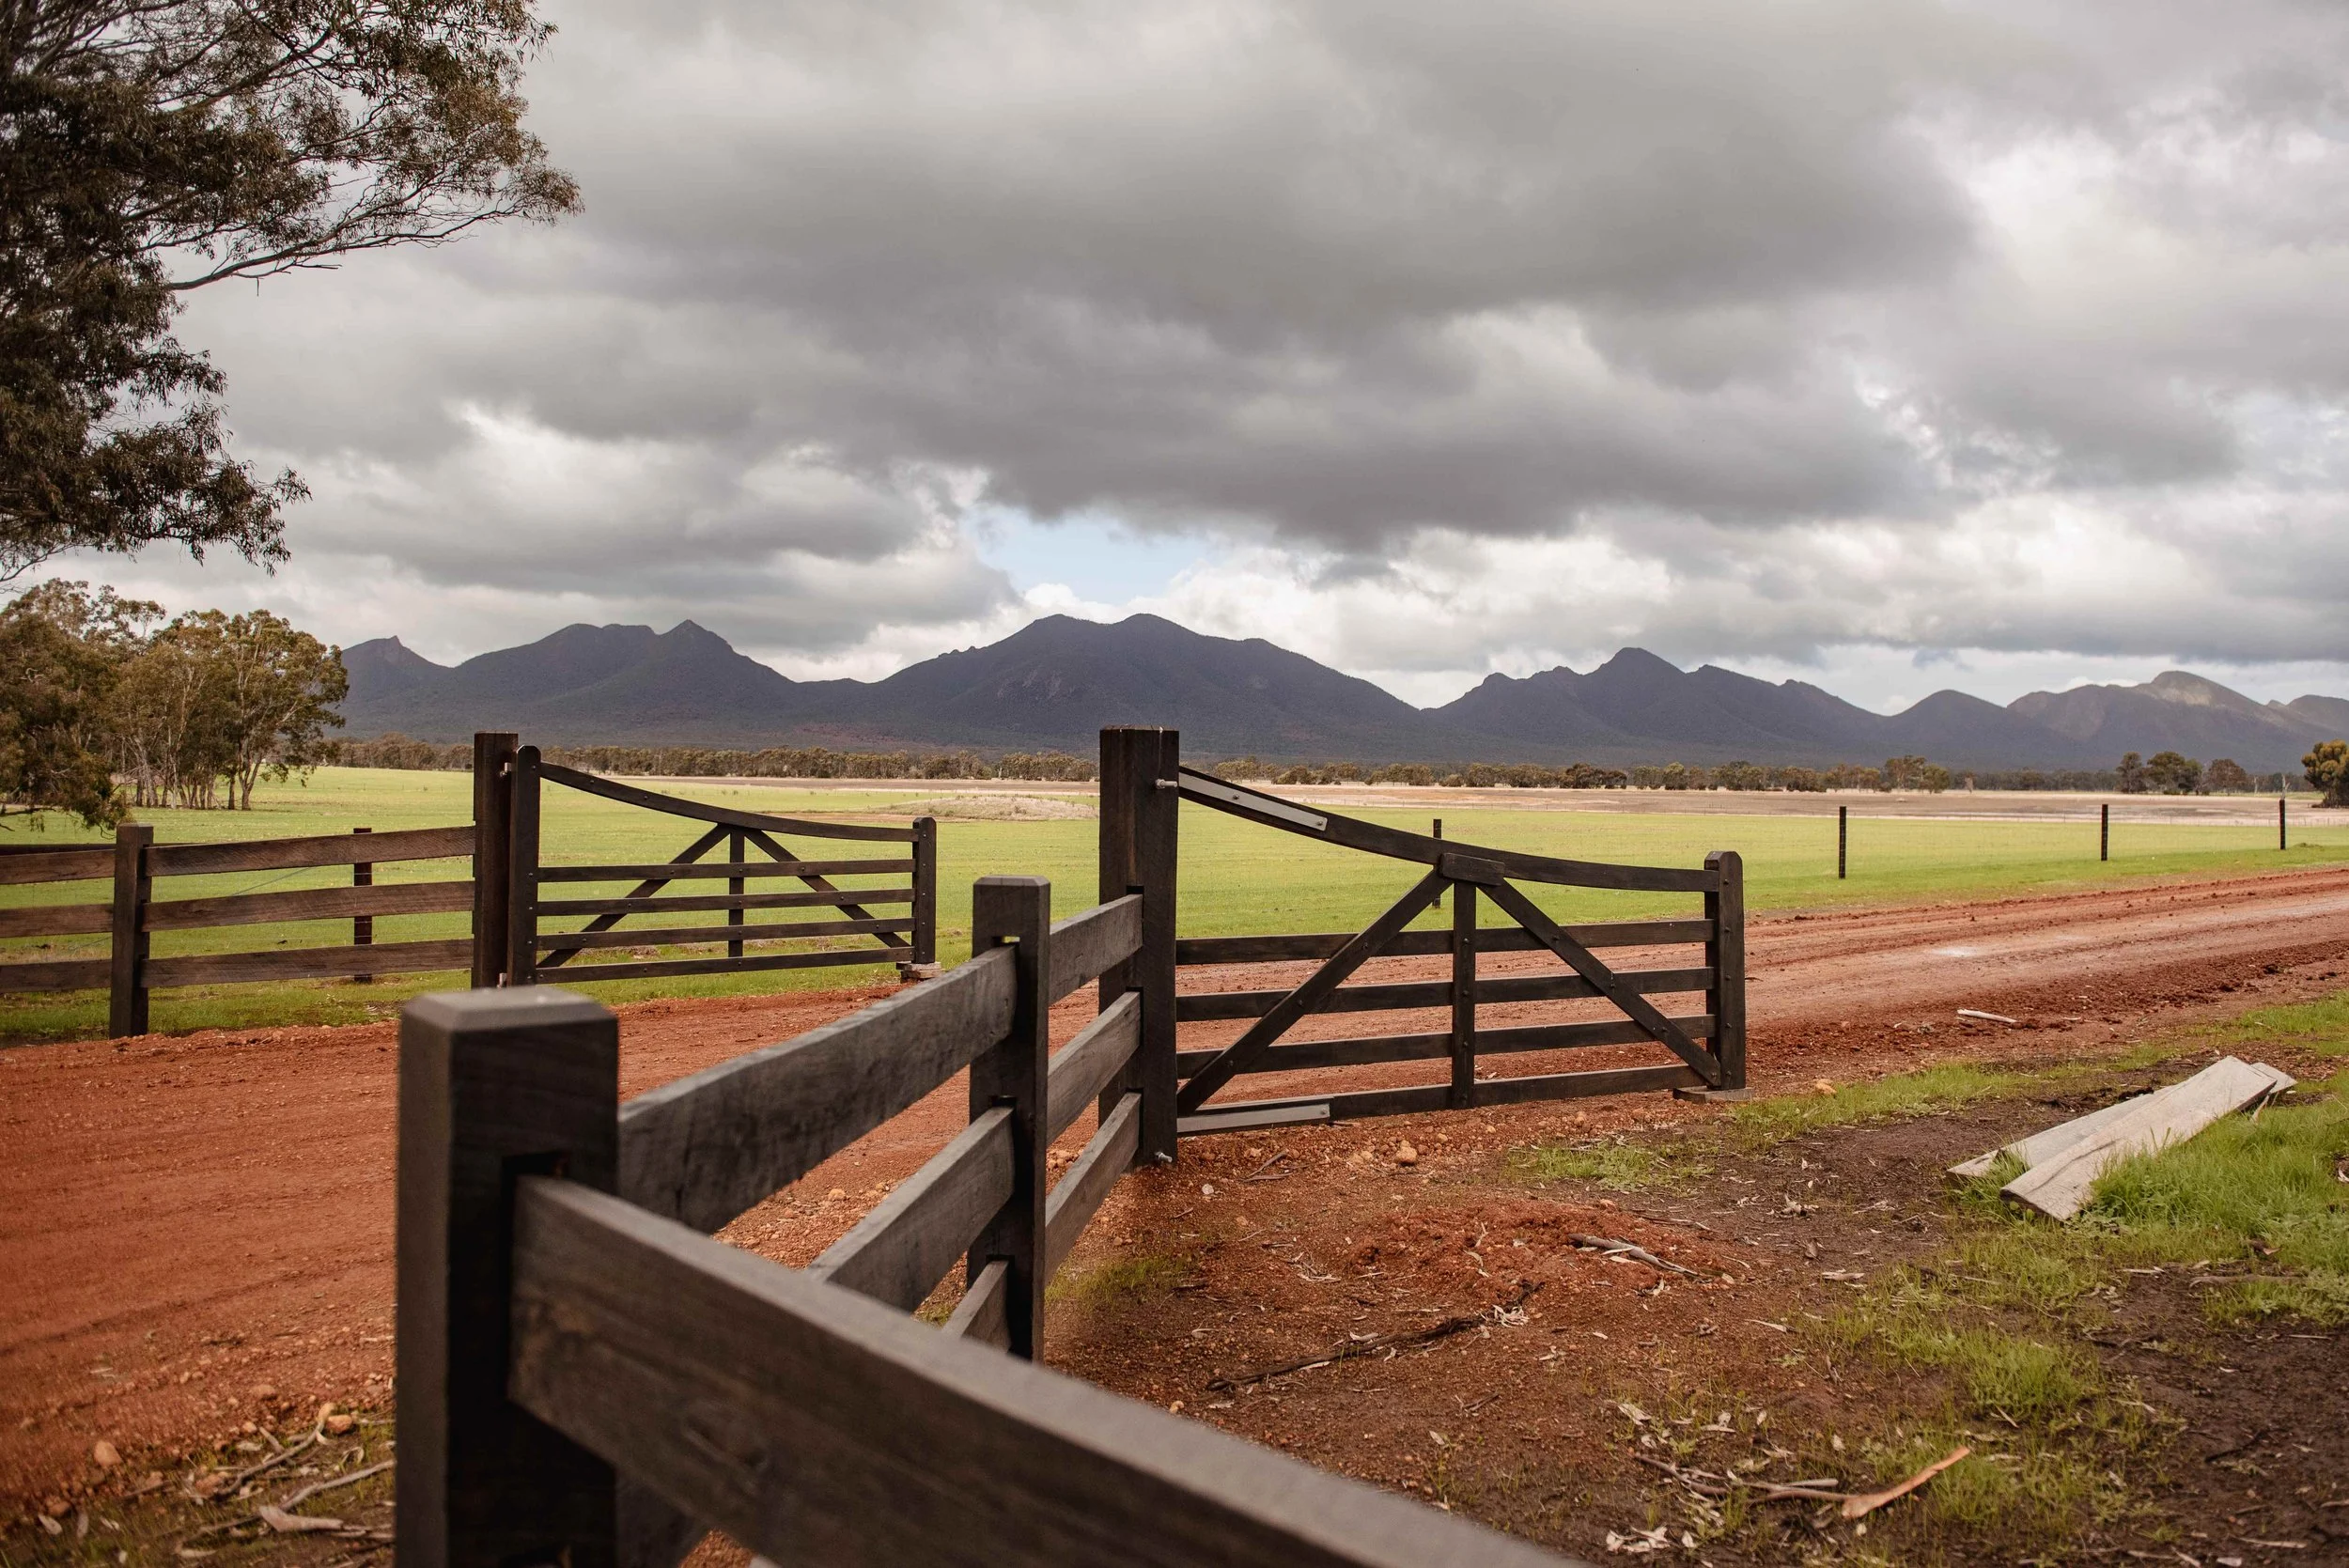
Step 1: Planning Your Timber Gate
Getting the planning right saves headaches later on.
1.1 Take Accurate Measurements
If you have existing gate posts, measure your gate opening in 3 areas: top, middle, and bottom. This helps you catch any variations, as the ground isn't always level and posts might not be perfectly straight. Leave about 45 mm clearance on each side (90 mm total for single gates and 160 mm total for double gates) and clearance underneath so the gate swings freely. If you are installing new gate posts, mark your post positions and double-check everything before digging.
1.2 Determine Gate Style and Function
Think about how you'll use the gate. Single gates are suitable for openings up to approximately 3 metres, while wider openings require double gates for easier operation. Most gates work best when they swing into your property, but check for any slopes or structures that might affect this.
Step 2: Organise Materials and Tools
Nothing's more frustrating than being halfway through a job and realising you're missing something crucial. Here's what you'll need:
2.1 Materials Checklist
Gate materials:
Timber gates
Gate hinges (heavy-duty strap hinges work well)
Gate latch or lock hardware
Bolt through gate gudgeons (The pins the gate pivots on)
Wood stain (if desired)
Post installation materials:
Concrete mix
2.2 Tools Checklist
Essential tools:
Post hole digger or spade
Spirit level
Drill
22 mm Auger drill bit
Large shifter for adjusting gates
Measuring tape
Pencil for marking
Safety equipment (glasses, gloves)
Helpful additions:
Builder’s square
Wheelbarrow for mixing concrete
Step 3: Installing the Gate Posts
3.1 Digging Post Holes
Follow these key measurements:
Depth rule – Gate post holes should be 1000 mm or deeper if possible.
Width rule – Make holes about three times the width of your post, i.e. a 200 mm post requires a hole roughly 450-500 mm wide.
Keep the excavated soil nearby, as you'll need some later for backfilling. Remove any rocks, roots, or debris from the holes, as these can prevent the posts from being positioned properly.
3.2 Setting and Securing the Posts
Prepare the base: Tamp the base of the hole with a crowbar or tamping tool to ensure the base is solid and won’t sink.
Position and secure: Set your first post using a small amount of dirt to hold it in place and check it's perfectly vertical using a spirit level.
Position the second post: Measure the distance between the posts and position the second post in the correct location, ensuring it also remains vertical.
Double check the opening: Recheck the opening width between the posts before concreting.
Add concrete: Mix concrete according to the instructions, and pour it around the post. Ensure the concrete doesn't knock the post out of line or level when pouring into the hole. Make any necessary adjustments to the level while the concrete is still wet.
Step 4: Assembling and Attaching the Gate
Once your posts are set and cured (usually 24–48 hours), it's time to hang your gate.
4.1 Check Gate Fit
Ensure your gate fits your opening properly. For a 1800 mm gate, allow approximately 90 mm of total clearance (about 45 mm on each side) so the gate can swing freely without rubbing against the posts. This means your opening should be roughly 1890 mm wide.
4.2 Attaching The Gudgeons
Fit a gudgeon into the strap hinge mounted on the gate and measure from the top of the gate to the centreline of the threaded rod on the gudgeon. Use this measurement to mark the first hole position from the top of the post. Then measure between the strap hinges to determine the location for the next gudgeon and mark it on the post, measuring down from the first mark.
Once you have your heights marked, you can then mark the vertical line. The location varies depending on the gate type, but usually, on a 200 mm post, you would mark it 60 mm from the back of the post.
Once the holes are marked, use the 22 mm auger drill to drill a hole through the post, ensuring the holes are drilled straight and square in all directions.
Then take one nut and washer off the gudgeon, push it through the hole, and refasten the nut and washer on the other side. Tighten slightly, ensuring the pin is vertical.
4.3 Hanging the Gate
With the help of another person, lift the gate up and slide the strap hinges onto the gudgeon pins. You may need to swing the gate back and forth a few times for it to slide all the way down on the pins. Once attached, check that the gate swings freely through its full range without catching, and ensure the gap between the gate and posts is consistent from top to bottom. Use the nuts on the gudgeons to adjust the gate up and down so it is level.
Step 5: Finishing Your Timber Gate
5.1 Installing the Latch and Lock
Begin by installing the latch mechanism on the gate, following the manufacturer’s instructions. Next, mark and fit the strike plate on the gate post. Ensure both components are properly aligned for a secure closure.
5.2 Testing and Adjustments
Open and close the gate several times to check for smooth operation. Check that all fasteners are tight, as timber can settle and screws may loosen. If the gate's sagging or binding, a small adjustment of the gudgeon nuts will reposition it back into line.
Conclusion
Installing a timber gate takes some planning and attention to detail, but if you take your time with each step, you'll end up with a gate that works smoothly and lasts for years.
Thinking about a timber gate for your property? Our gates are made from quality Queensland White Cypress Pine, offering excellent durability and longevity at an affordable price. Request a no-obligation quote from Strukta online in just a few clicks.
Need help choosing the right gate or have questions about installation? Give us a call on (03) 5599 9445. We’re always happy to help.
Frequently Asked Questions
What is the most suitable type of timber for a gate?
Queensland White Cypress Pine is our top choice for timber gates. This Australian native timber naturally resists termites and decay, eliminating the need for chemical treatment. Its tight grain and natural oils handle weather conditions exceptionally well.
Other suitable options include treated pine for budget-conscious projects. Hardwood also works ok, however, it is considerably heavier, which puts a lot more strain on gate posts.
Which timber is the most budget-friendly for a gate?
Treated pine is generally the most budget-friendly, although over time, it is not the best option as it moves and twists very easily. Queensland White Cypress Pine offers better long-term value. While it costs slightly more initially, it requires less maintenance, lasts longer, and needs no chemical treatments. It's a wise investment that delivers better returns over time.
Want to learn more about timber types?
For a comprehensive guide on selecting the best timber for your fencing project, read our blog: Know Your Timber Types for Fencing and Gates.